Brighten Your Home: Easy Snowman Window Painting Ideas For Winter Fun
Detail Author:
- Name : Dora Koch
- Username : larissa43
- Email : strosin.bernardo@hotmail.com
- Birthdate : 1988-05-09
- Address : 77230 Buckridge Mills Apt. 194 New Evans, MD 11215
- Phone : 820-499-5241
- Company : Grady, Klocko and Gutkowski
- Job : Range Manager
- Bio : Eos totam quis impedit unde exercitationem iure veritatis. Sit quia quia dolor consequatur aut magni reiciendis nam. Sunt corporis omnis at itaque officiis aut.
Socials
twitter:
- url : https://twitter.com/malinda4405
- username : malinda4405
- bio : Velit velit quibusdam tempore debitis a. Dolorem quod reiciendis est ratione.
- followers : 4535
- following : 302
instagram:
- url : https://instagram.com/malindastanton
- username : malindastanton
- bio : Reiciendis ut temporibus doloribus commodi illum amet. Ea ea et quos.
- followers : 3564
- following : 1436
tiktok:
- url : https://tiktok.com/@malindastanton
- username : malindastanton
- bio : Error illo error doloremque non.
- followers : 665
- following : 24
linkedin:
- url : https://linkedin.com/in/malindastanton
- username : malindastanton
- bio : Dolorem corrupti est velit delectus.
- followers : 2972
- following : 1365
Winter brings with it a certain kind of quiet charm, doesn't it? That feeling of crisp air and, for many, the gentle hush of falling snow. There is something truly special about those moments, creating a cozy atmosphere inside your home while the world outside transforms into a beautiful, white landscape. It's a time for warm drinks, comfy blankets, and, of course, a little bit of creative fun.
So, what if you could capture some of that outdoor winter magic and bring it right into your living space? Well, you absolutely can, and it's easier than you might think. We're talking about snowman window painting, a delightful activity that lets you adorn your windows with cheerful, frosty friends. This simple craft turns your glass panes into canvases for seasonal cheer, inviting smiles from everyone who passes by, and really, it feels good to make something pretty.
Think about the joy of seeing those happy snow figures greeting you each day. It's a wonderful way to brighten up the colder months, giving your home a personal touch of winter wonder. This tradition, in a way, echoes the long history of snowmen themselves, figures built with thought and skill, much like art supplies given freely by nature during the Middle Ages, as a matter of fact. It’s a very accessible kind of art, too.
Table of Contents
- The Magic of Snowmen on Your Windows
- What You'll Need for Your Winter Art Project
- Preparing Your Windows for a Snowy Scene
- Step-by-Step Guide to Creating Your Snowman Masterpiece
- Tips for Painting a Perfect Winter Wonderland
- Making It a Fun Family Activity
- Keeping Your Snowman Art Fresh
- Cleaning Up After Your Creative Adventure
- Frequently Asked Questions About Window Painting
The Magic of Snowmen on Your Windows
Bringing the charm of a snowman inside, right onto your window, offers a special kind of warmth. It’s a pretty simple way to decorate, yet it adds so much personality to your home during the colder parts of the year. Imagine waking up to a friendly, painted face looking back at you, or seeing it sparkle when the sun hits the glass. It’s a visual hug, really.
This kind of decoration is not just for show; it creates a cheerful mood inside and out. For folks passing by, it’s a little surprise, a bit of whimsy that makes them smile. It’s also a way to connect with that age-old tradition of making snow figures. You know, those temporary statues, often human-sized, that pop up in snowy places around the world? Well, this is a way to have them without the chill.
Historically, snow figures have been a phenomenon for a long, long time, built with real care and thought. In times past, when there weren't many ways to express oneself creatively, snow was almost like free art supplies, you know? So, painting a snowman on your window carries on that spirit of accessible, joyful creation. It’s a very personal touch, too.
It lets you celebrate the season in a unique way. Instead of just putting up lights or wreaths, you're crafting a little story on your glass. Each snowman can have its own personality, its own expression, and that's something pretty cool. It’s a way to make your home feel extra cozy and inviting, especially when the weather outside is a bit frosty. You can make them tall or short, a bit like those real snow figures that stand 0.5 to 2 units tall, just on your window.
What You'll Need for Your Winter Art Project
Getting ready for your snowman window painting project is pretty straightforward. You won't need a ton of fancy items, which is nice. The key is picking the right kinds of paint and tools to make sure your snow figures look their best and are easy to clean up later. So, let’s go over the basics, shall we?
Paints: The Right Stuff for Glass
The most important thing is the paint. You want something that sticks to glass but also comes off without a huge fuss. Here are some good choices:
Tempera Paint: This is a really popular choice, especially if kids are involved. It’s water-based, so it washes off easily with just a little water and a cloth. It gives a nice, opaque look, which is perfect for a snowy effect. It dries pretty quickly, too.
Acrylic Paint (Washable/Craft Type): Some craft acrylics are designed to be washable, which is great for temporary window art. Just make sure it specifically says "washable" or "non-toxic" on the label. They offer vibrant colors and good coverage. You might want to test a small spot first, just to be sure it comes off easily.
Window Paint/Glass Markers: These are made specifically for glass and are probably the easiest to use. They often come in pen form, which makes drawing details very simple. They peel off or wash away cleanly. They can be a bit more expensive, though, but are very convenient.
Homemade Paint: For a really simple, budget-friendly option, you can mix cornstarch with water and a tiny bit of dish soap. This creates a paint-like consistency that’s very opaque and washes off with almost no effort. It’s a bit thinner, so you might need a few coats, but it works surprisingly well, honestly.
You'll mainly need white for the snowman's body, of course. Then, a bit of orange for the nose, black for the eyes and mouth, and maybe some red or green for scarves or hats. You could even add some blue for snowy shadows, in a way.
Brushes and Tools for Details
Having a variety of tools will help you create different parts of your snowman. You don't need a whole art studio, just a few key items.
Assorted Brushes: A flat brush is good for filling in larger areas, like the snowman's body. A round brush with a fine tip is perfect for smaller details, like buttons or a twig arm. You know, having a couple of different sizes is pretty useful.
Sponges: A small sponge, or even a cut-up kitchen sponge, can be great for dabbing on the white paint. It gives a slightly textured, snow-like appearance. This is especially good for creating that fluffy look, too.
Cotton Swabs or Toothpicks: These are surprisingly handy for very tiny details, like the dots for eyes or small buttons. They give you a lot of control for those little touches. They’re really good for fixing small mistakes, actually.
Stencils (Optional): If you’re not feeling super confident about drawing freehand, stencils are your friend. You can buy them or even make your own from cardstock. They help create perfect circles for the snowman's body or fun shapes for accessories. They make it a bit easier, obviously.
Masking Tape or Painter's Tape: This is useful for taping up stencils or creating clean edges if you want a border around your painting. It peels off cleanly, so it won’t leave sticky residue. It’s pretty essential for neat lines.
Other Handy Items
A few other things will make your painting experience smoother and cleaner.
Paper Towels or Old Rags: For wiping brushes, cleaning up drips, and drying your hands. You'll want plenty of these on hand, honestly.
Water Container: A cup or bowl for rinsing your brushes between colors. Keep a fresh supply of water nearby, too.
Newspaper or Drop Cloth: Lay this down on the floor or windowsill under your painting area. It will catch any drips and keep your surfaces clean. It’s a good idea to protect your space, you know?
Old Clothes or Apron: Wear something you don't mind getting paint on. Even washable paints can be a bit messy. It’s just smart to be prepared.
Preparing Your Windows for a Snowy Scene
Before you start painting your delightful snow figures, giving your windows a good clean is a really important step. A clean surface helps the paint stick better and ensures your finished art looks bright and clear. It makes a big difference, honestly.
Clean the Glass Thoroughly
You want your window to be spotless. Any dirt, dust, or grease will make the paint uneven or cause it to peel later. So, here’s how to get them ready:
Wipe Away Dust: First, use a dry cloth or a duster to remove any loose dust or cobwebs from the windowpane. This gets rid of the surface grime, basically.
Spray with Cleaner: Use a standard glass cleaner or a mix of equal parts white vinegar and water. Spray a generous amount onto the window. This helps loosen any stuck-on dirt, you know?
Wipe Down: Use a clean, lint-free cloth or paper towels to wipe the window clean. Work from top to bottom, making sure to get into the corners. You want to avoid streaks, so sometimes a microfiber cloth works best. It’s pretty crucial for a smooth surface.
Dry Completely: This is a really important part. Make sure the window is completely dry before you even think about picking up a paintbrush. Any moisture will mess with the paint’s ability to stick. Give it a good few minutes to air dry, or use a dry cloth to absorb all the dampness. It needs to be bone dry, seriously.
Set Up Your Workspace
Once the window is sparkling clean, it’s time to get your area ready. This helps keep things tidy and makes the whole process more enjoyable.
Protect Your Surfaces: Lay down newspaper, old sheets, or a drop cloth on the floor directly under the window you’ll be painting. This will catch any accidental drips or spills. It’s just a smart move, really.
Organize Your Paints: Pour small amounts of each paint color you plan to use onto a palette or a paper plate. This makes it easy to dip your brush and prevents you from contaminating your main paint containers. It keeps things neat, you know?
Have Water Ready: Set up a cup or bowl of clean water for rinsing your brushes. Having a separate container for dirty water is also a good idea. Keep it close by, so you don’t have to walk far, basically.
Gather Your Tools: Arrange your brushes, sponges, cotton swabs, and any stencils within easy reach. You don't want to be fumbling around for things once you start painting. Having everything at your fingertips is pretty helpful, at the end of the day.
Consider Lighting: If possible, choose a time of day when there’s good natural light on your window. This helps you see what you’re doing clearly and spot any imperfections. Good lighting just makes everything easier, honestly.
Step-by-Step Guide to Creating Your Snowman Masterpiece
Now that you have all your supplies ready and your windows are sparkling clean, it's time for the fun part: bringing your snowman to life! This process is pretty forgiving, so don't worry too much about perfection. Just enjoy the creative flow, you know?
1. Plan Your Snowman's Look
Before you even touch the paint to the glass, take a moment to imagine your snowman. Where will it be on the window? How big will it be? Will it have a hat, a scarf, or maybe a broom? Sketching a quick idea on a piece of paper can be really helpful, especially if you're making more than one. You can even tape a paper sketch to the outside of the window as a guide, so you can trace it from the inside, which is a neat trick, actually.
2. Paint the Body
This is where your snowman truly begins to appear. You'll want to use your white paint for this part.
Start with Circles: Snowmen are typically made of two or three round shapes stacked on top of each other. Begin with the largest circle at the bottom, then add a slightly smaller one on top of that, and finally the smallest for the head. Use a flat brush or a sponge to create these basic shapes. Don't worry if they aren't perfectly round; a bit of unevenness can make them look more natural, like real snowballs, you know?
Fill Them In: Once you have your outlines, fill in the circles completely with white paint. Apply the paint in thin, even coats. It's usually better to do two or three thin coats than one thick one, as thick paint can drip or take a long time to dry. Let each coat dry for a little while before adding the next. This gives it a nice, opaque finish, basically.
Build Opacity: If you're using tempera or homemade paint, you might notice it looks a bit transparent after the first coat. That’s perfectly normal. Just let it dry for about 10-15 minutes, and then add another coat. Keep layering until you get that solid, snowy white look you want. It's almost like building up a real snowman, just with paint.
3. Add the Face and Features
This is where your snowman gets its personality. Use your smaller brushes or cotton swabs for these details.
Eyes: Use black paint to create two simple dots for the eyes. You can make them perfectly round, or give them a slightly mischievous look. Some people like to make them look like coal, which is pretty traditional, you know?
Mouth: For the mouth, you can paint a simple curved line or a series of small dots to represent pebbles. A happy smile is always a good choice, as a matter of fact.
Nose: An orange carrot nose is classic. Use a fine-tipped brush to paint a triangular or cone shape for the nose. You can make it straight or slightly tilted, giving your snowman a bit of character. It’s a very iconic part, really.
Buttons: Add a few black dots down the snowman's body for buttons. Three usually looks just right, but you can add more or fewer, depending on what you like. These little details really bring it to life.
4. Give Your Snowman Accessories
Now for the fun additions that make your snowman truly unique.
Arms: Use black or brown paint to draw two twig-like arms coming from the middle section of the snowman. You can make them stick straight out or have them waving. They can be pretty simple, or you can add little finger-like branches, you know?
Scarf: Use red, green, or any other festive color to paint a scarf around your snowman's neck. You can make it look like it's blowing in the wind or simply tied neatly. This adds a lovely pop of color, too.
Hat: A top hat, a knit cap, or even earmuffs can be painted on the snowman's head. Use black, brown, or any color you fancy. This really completes the look, basically.
Other Details: Think about adding snowflakes around your snowman, or perhaps a few small white dots to represent falling snow. You could even paint a little bird on its arm or a small broom beside it. These extra touches make your scene more lively, honestly.
5. Let It Dry
Once you’re happy with your snowman, leave it alone to dry completely. This can take anywhere from 30 minutes to a few hours, depending on the type of paint you used and how thick your layers are. Don't touch it until it's fully dry, or you might smudge your beautiful work. Patience is a bit of a virtue here.
Tips for Painting a Perfect Winter Wonderland
Creating beautiful snowman window art is really about having fun, but a few simple tips can make your project even more enjoyable and successful. These little tricks can help you achieve a cleaner look and make the process smoother, you know?
Work in Layers and Let Them Dry
This is probably one of the most important tips. When painting your snowman's white body, apply the paint in thin layers. If you try to put on one very thick coat, it can drip, look streaky, or take ages to dry. Instead, paint a thin layer, let it dry for 10-15 minutes, and then add another. Repeat until you get the solid, opaque white you want. This gives a much better finish, honestly, and it’s pretty worth the wait.
Use Stencils for Consistency
If you're worried about drawing perfectly round circles for your snowman's body, or if you want multiple snowmen that look similar, stencils are your best friend. You can buy pre-made stencils or easily create your own from cardboard or cardstock. Just trace the circles onto the cardboard, cut them out, and then tape them to the window. Paint inside the stencil, and then carefully remove it. This helps ensure your shapes are neat and consistent, basically.
Less is More with Water
If you're using tempera or homemade cornstarch paint, you might be tempted to add a lot of water to thin it out. Be careful! Too much water will make your paint too runny, causing it to drip and look transparent. Add just a tiny bit of water at a time if you need to adjust the consistency. You want it to be thick enough to be opaque but thin enough to spread smoothly. It’s a bit of a balancing act, you know?
Clean as You Go
Keep a damp cloth or paper towels nearby to wipe up any drips or mistakes immediately. It's much easier to clean up wet paint than dried paint. If you make a small error, a cotton swab dipped in water can precisely remove just the mistake without disturbing the rest of your painting. This keeps your workspace tidy and prevents frustration, honestly.
Experiment with Texture
For a truly snowy look, try dabbing the white paint onto the window with a sponge instead of brushing it on smoothly. This creates a slightly textured, fluffy effect that makes your snowman look more like it's made of real snow. It adds a nice bit of realism, too. You can also use the tip of a brush to create small, raised dots for a textured effect, basically.
Consider the View from Outside
Remember that your window painting will be seen from both inside and outside. While you're painting from the inside, try to step outside occasionally to see how it looks. This helps you check for any areas that might need more paint or adjustments to look good from both perspectives. It’s pretty important to consider both sides, you know?
Add Wintery Details
Beyond the snowman itself, think about adding other winter elements to your scene. Falling snowflakes (simple white dots or more intricate designs), a few bare tree branches, or even a small winter bird can really complete your picture. These details add depth and make your window a true winter wonderland. You can make them very simple or quite elaborate, depending on your mood.
Don't Be Afraid to Get Creative with Snowman Styles
Remember, snowmen have different names and appearances across the world, from the classic friendly figure to the more mythical Yeti, sometimes called the abominable snowman, in the Himalayas. So, your painted snowman doesn't have to be just the traditional three-ball figure. You could give your snowman a whimsical hat, a funny expression, or even make it wave. Let your imagination run a bit wild! You could make a whole family of snowmen, each with its own unique look. This is where the real fun comes in, basically.
Making It a Fun Family Activity
Snowman window painting isn't just a craft; it's a wonderful opportunity to create lasting memories with your loved ones. It’s a pretty perfect activity for a chilly afternoon, bringing everyone together for some creative fun, you know?
Assign Roles for Everyone
Even the youngest family members can get involved. Little ones can help with the initial cleaning of the windows, or they can be in charge of dabbing on the white paint for the snowman's body. Older children can take on more detailed tasks, like painting the eyes, nose, or adding accessories. Even adults can enjoy sketching out the designs or adding the finishing touches. Everyone can have a part, which is pretty great.
Encourage Individual Expression
Don't worry if every snowman looks different. In fact, encourage it! Let each person design their own snowman, giving it a unique personality. One might have a silly grin, another a tall hat, and yet another a colorful scarf. This makes the whole window a gallery of individual creativity. It's a bit like how real snowmen are always unique, even if they share the same basic shape.
Tell Stories While You Paint
As you paint, talk about your favorite winter memories or make up stories about the snowmen you're creating. "What kind of adventures do you think this snowman has?" or "What's its favorite thing to do?" This adds another layer of engagement and makes the activity more than just painting. It becomes a shared experience, basically.
Play Music or Have Snacks
Set the mood by putting on some festive winter music or a favorite playlist. Have some warm drinks like hot chocolate or apple cider, and maybe some cookies or other treats. Creating a cozy, relaxed atmosphere makes the whole experience more enjoyable for everyone. It's about the whole vibe, you know?
Document Your Creations
Once your snowmen are dry, take pictures! Capture the finished artwork and the smiling faces of the artists. These photos will be wonderful keepsakes of your winter fun. You can even share them with family and friends who can't be there. It's pretty special to look back on these moments, honestly.
Teach About Snowmen
While you're painting, you can share some fun facts about snowmen. You could mention how they've been a folk tradition in many countries for centuries, or how they were once considered "free art supplies" in the Middle Ages. You could even talk about how they have different names around the world, like the Yeti. This adds an educational element without feeling like a lesson, which is pretty cool.
Keeping Your Snowman Art Fresh
Once your beautiful snowman window painting is complete, you might want it to last through the winter season. While most temporary window paints are designed to be easily removed, there are a few things you can do to help them stay looking good for a while, you know?
Avoid Touching the Painted Surface
This might seem obvious, but once the paint is dry, try not to touch it. Oils from your fingers can smudge the paint or even cause it to peel over time. Remind little ones to admire their work from a distance. It’s pretty important for keeping it neat.
Protect from Direct Water
If your window is exposed to rain or heavy condensation, the paint might start to run or fade, especially if you used tempera or homemade paint. For windows that get a lot of direct weather, you might find your art doesn't last as long. You
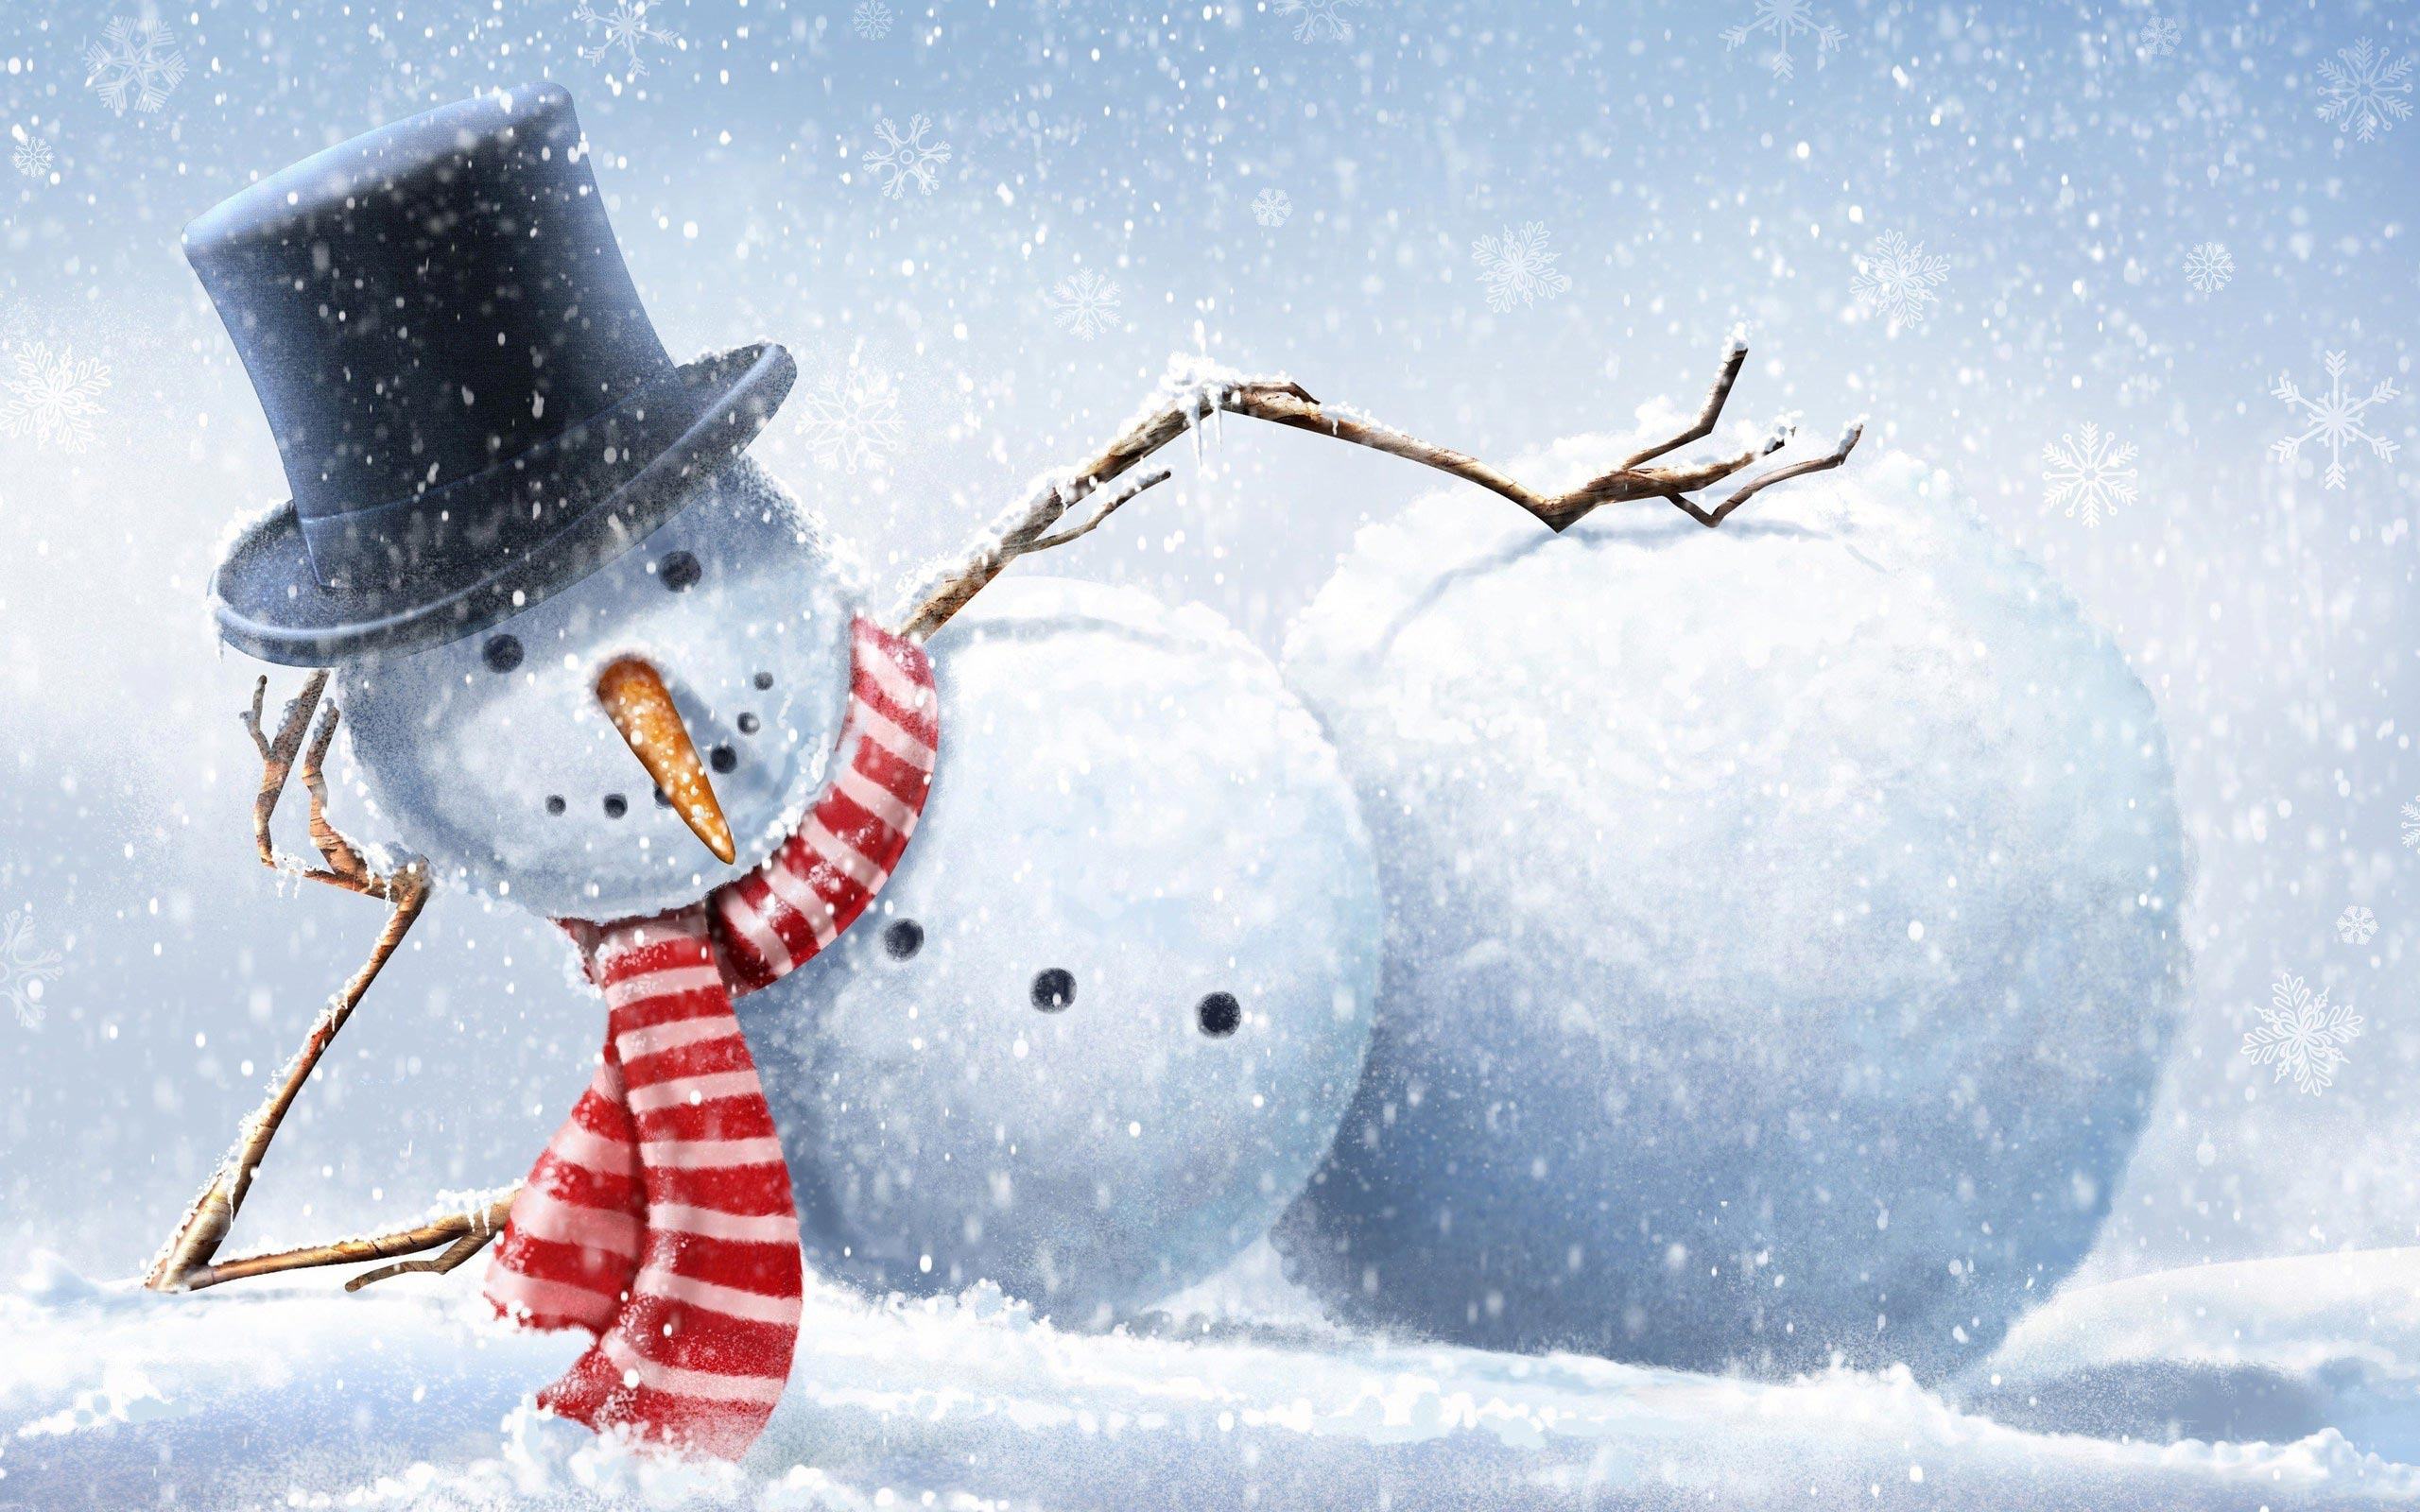
Snowman Wallpapers Free Download - PixelsTalk.Net
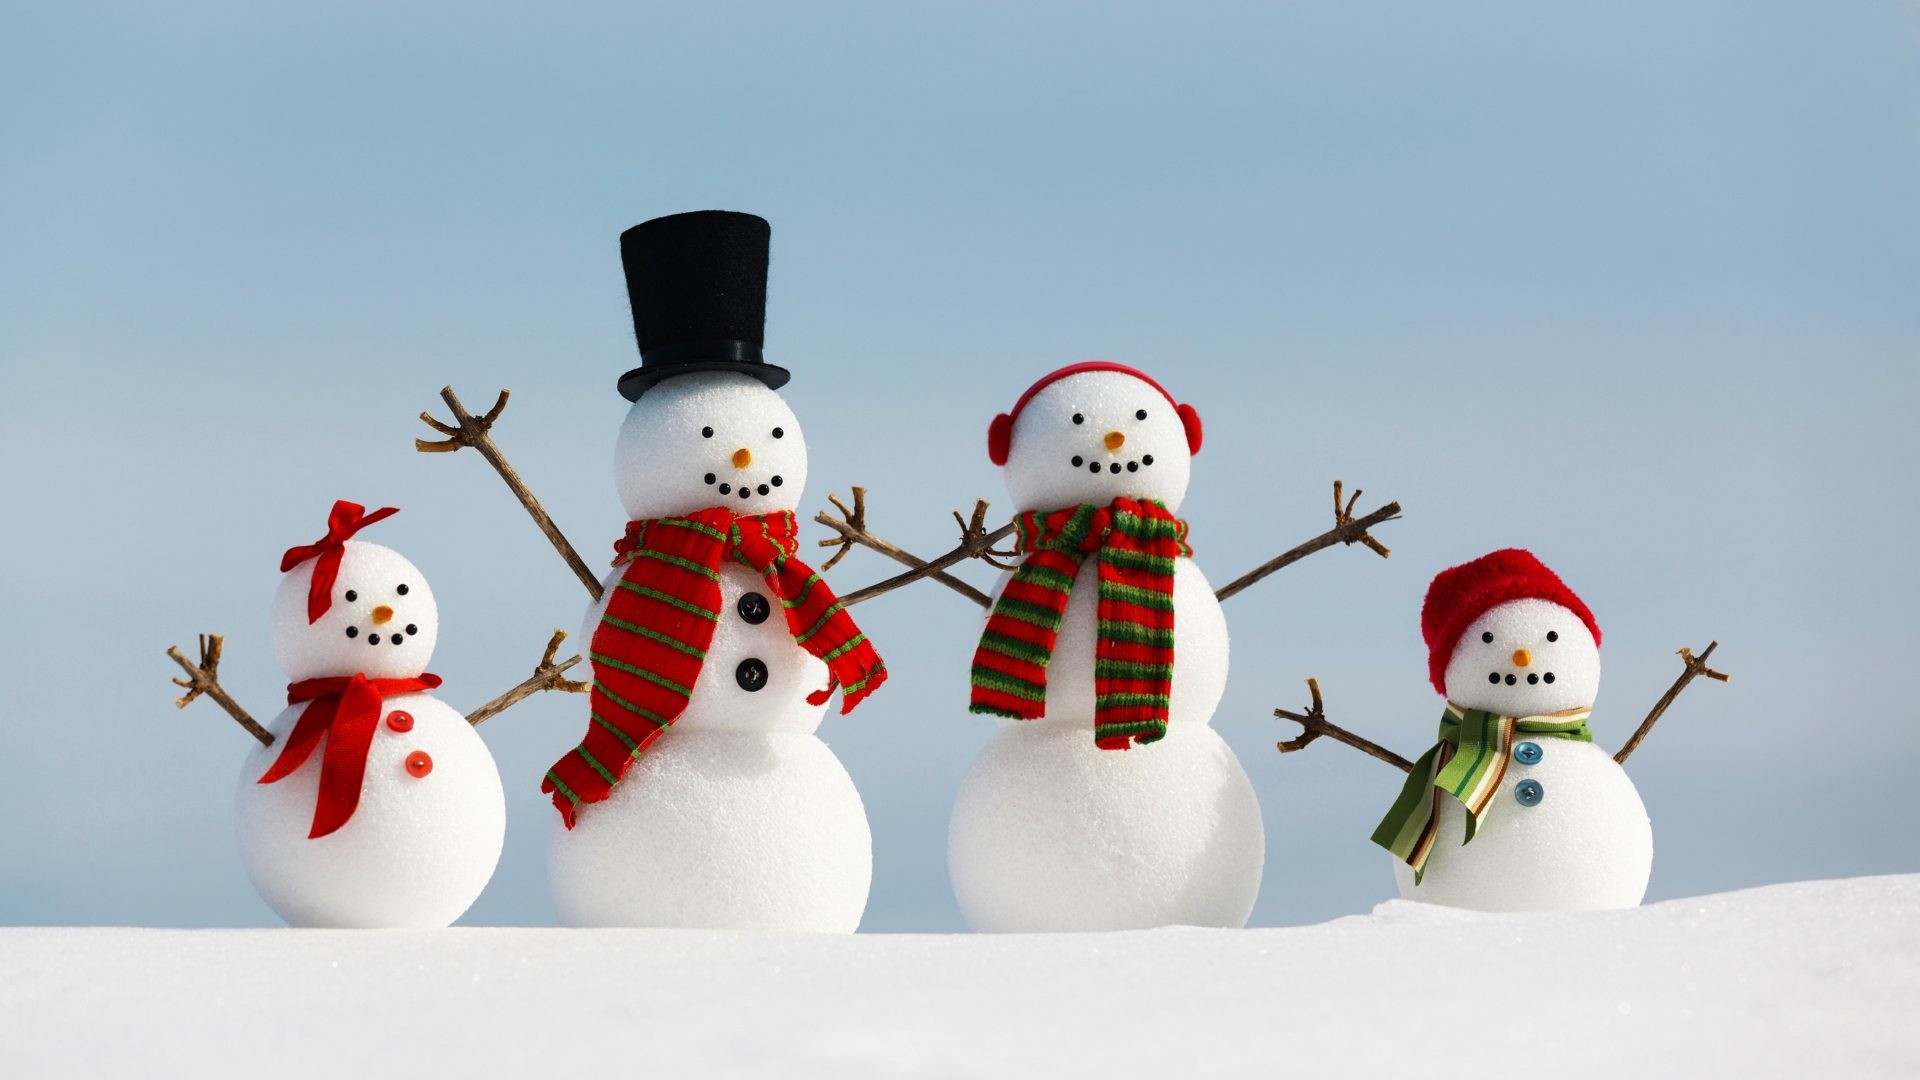
Winter Snowman Wallpaper (61+ images)
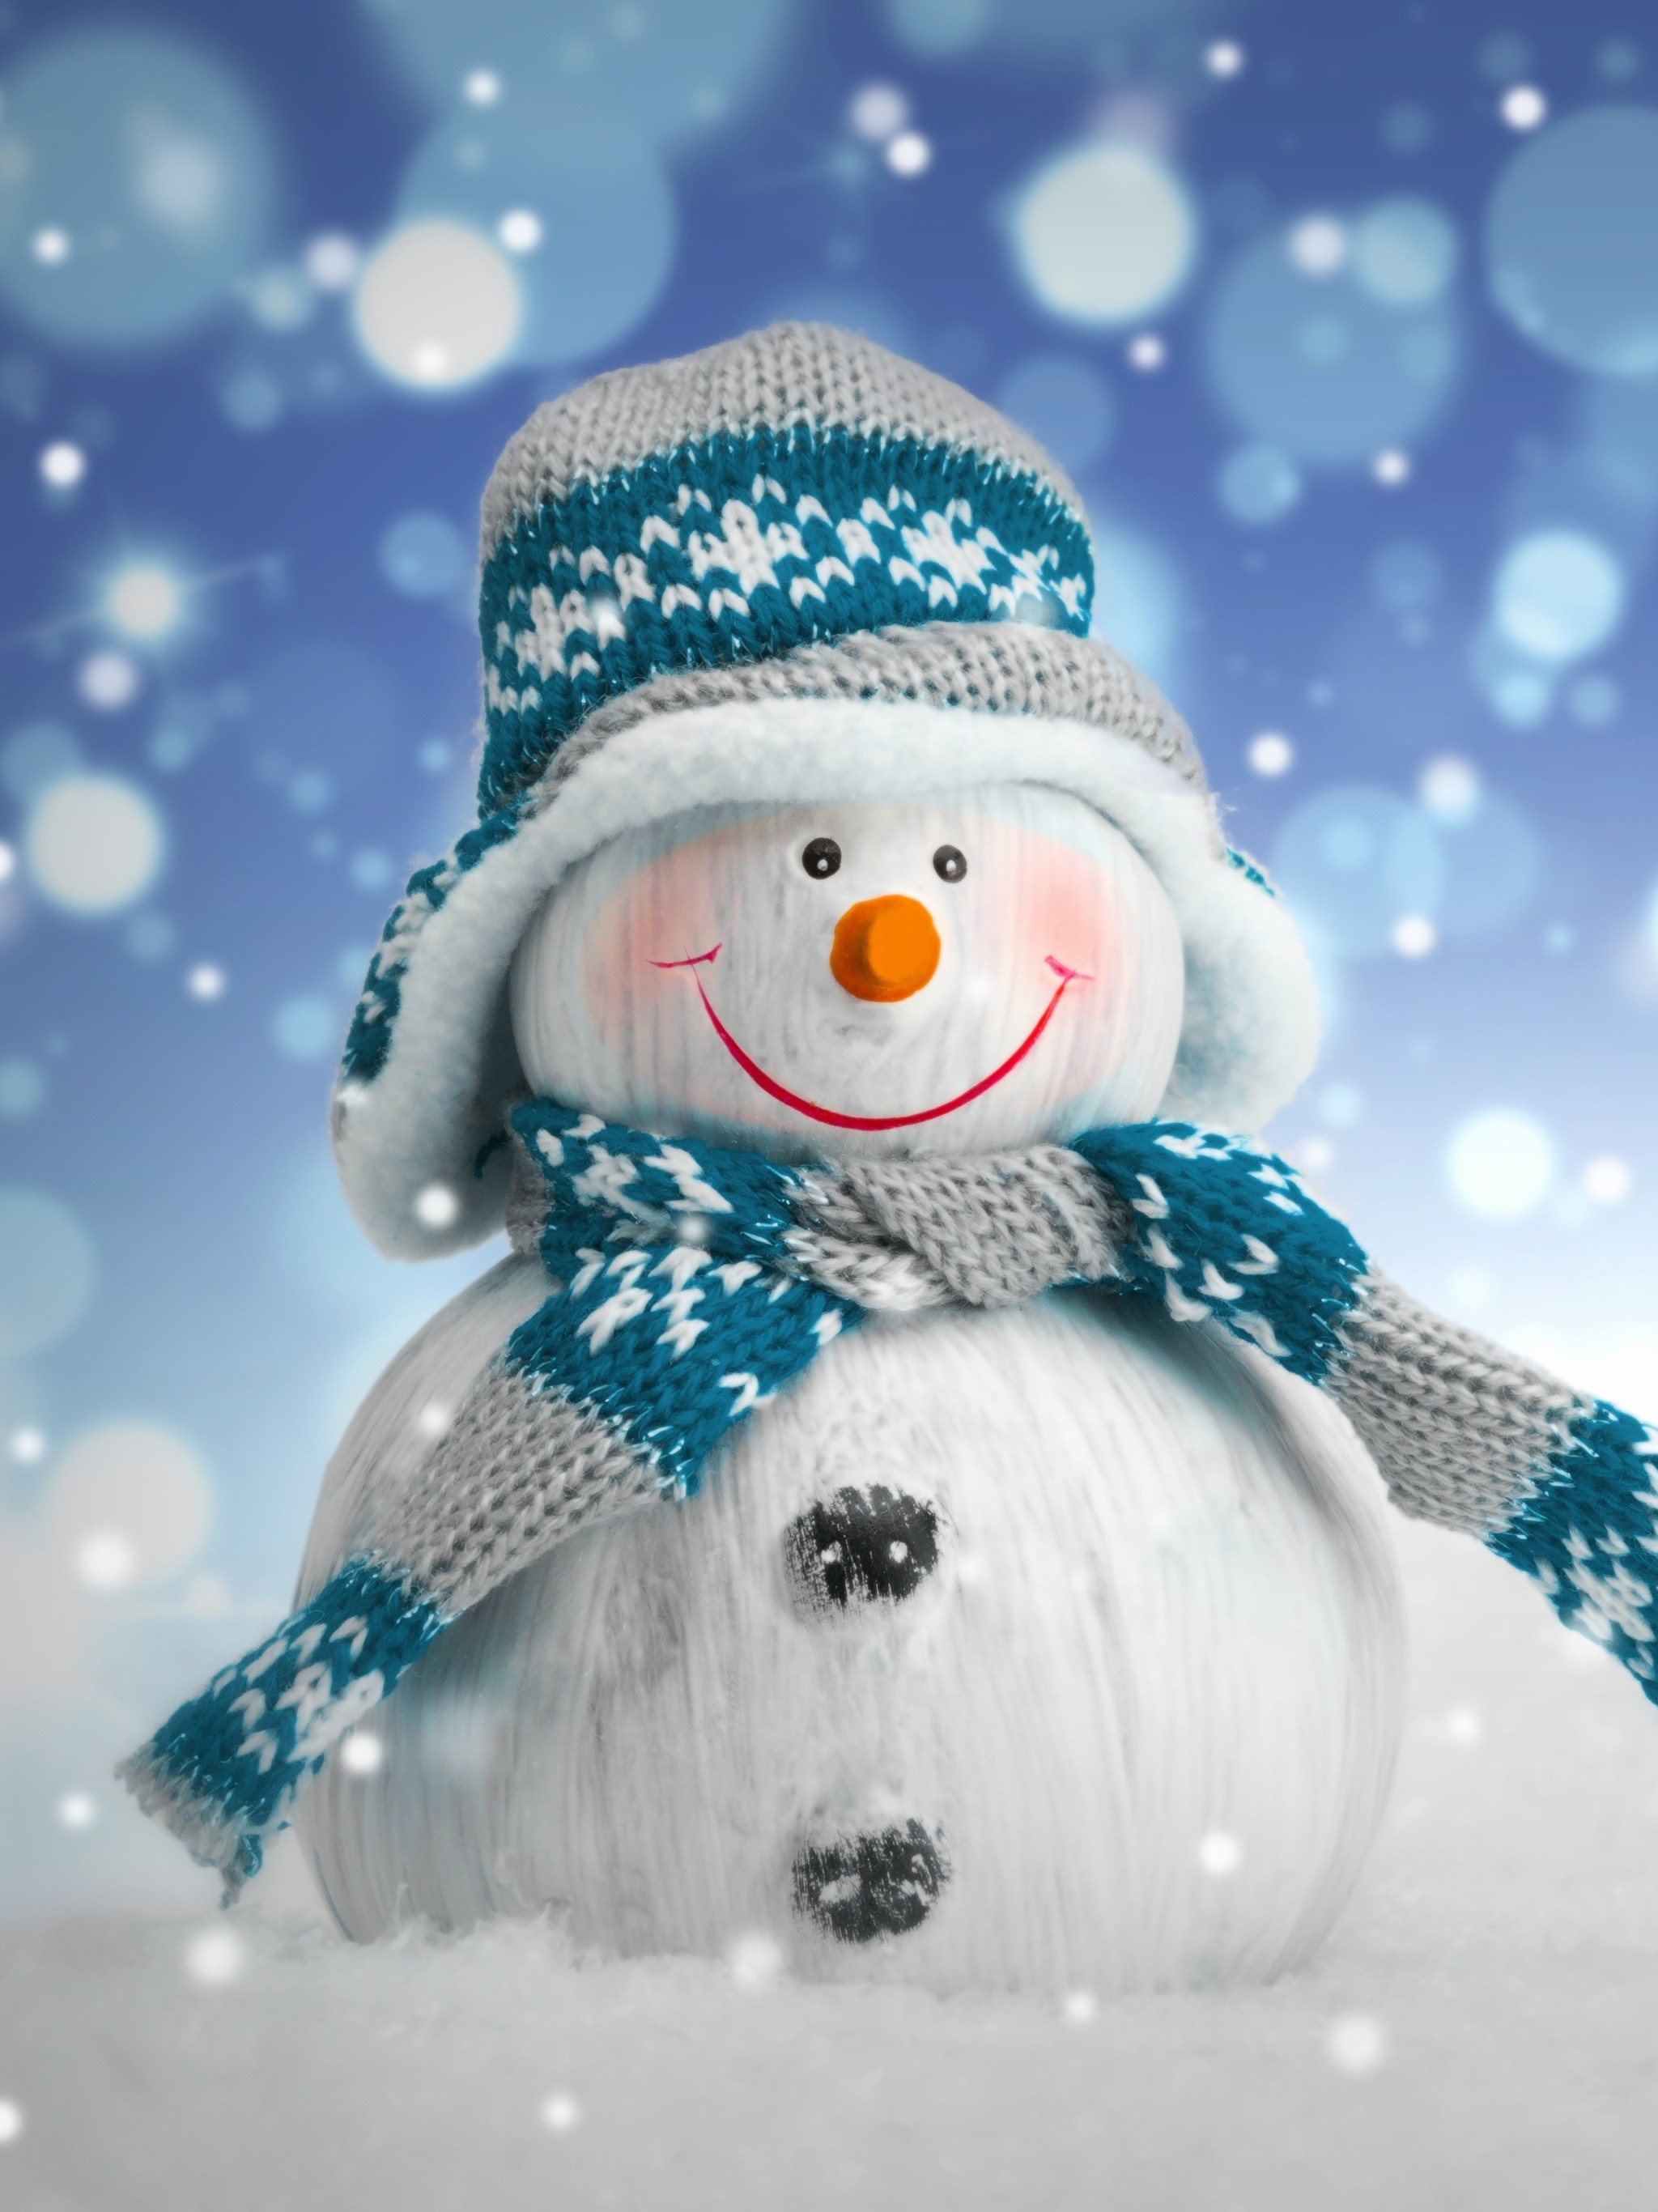
Winter Snowman Wallpaper (61+ images)
