Lipstick Drawing Easy: Your Go-To Guide For Quick & Creative Sketches
Detail Author:
- Name : Dorothea Wisozk
- Username : kling.edward
- Email : ubaldo.deckow@klein.biz
- Birthdate : 1984-06-16
- Address : 6214 McCullough Stravenue Suite 768 Lake Joshuah, AK 96322-4275
- Phone : 1-650-971-0793
- Company : Renner, O'Hara and Steuber
- Job : Transportation Inspector
- Bio : Et aliquid magnam velit et. Aspernatur et rem vero facilis natus. Neque voluptatem quis minima libero. Qui esse et aliquid quia iste.
Socials
instagram:
- url : https://instagram.com/toyr
- username : toyr
- bio : Rerum est asperiores quia libero eveniet nobis qui. Corporis commodi aut alias qui veritatis.
- followers : 4127
- following : 2037
linkedin:
- url : https://linkedin.com/in/rocky2165
- username : rocky2165
- bio : Ut ducimus aliquid iusto voluptates eum error.
- followers : 3686
- following : 2068
Have you ever felt a little spark of creativity, perhaps wanting to sketch something pretty, but then thought, "Oh, I can't draw that, it looks too hard"? Maybe you see those amazing illustrations online and think you need years of practice. Well, you know, it's actually not always about being a master artist. Sometimes, the real joy comes from just making something simple and lovely, something you can feel good about.
There's a certain charm, you see, in creating something beautiful without all the fuss. A lipstick, for instance, seems like such a small item, yet it holds so much character. It can be sleek, vibrant, or even a bit playful. Learning how to draw lipstick easily opens up a whole world of quick sketches and fun doodles, especially if you're just starting out or want a quick creative break.
This guide is all about showing you how simple it can be. We'll go through some straightforward steps, giving you the confidence to pick up a pencil and just try. It's really about having a good time and seeing what you can create, more or less, with just a few lines. So, let's get ready to make some pretty lipstick drawings, shall we?
Table of Contents
Getting Started with Your Easy Lipstick Sketch
- Gathering Your Simple Tools
- Finding Your Inspiration
Breaking Down the Basic Shapes
- The Tube's Foundation
- Adding the Lipstick Bullet
Adding the Details That Make It Pop
- Crafting the Cap
- Making It Look Real: Texture and Shine
- Playing with Color and Shading
Tips for Making Your Lipstick Drawing Shine
- Thinking About Light and Shadow
- Making It Look Glossy
- Finding Your Own Style
Why Easy Sketches Are So Good for You
- A Quick Creative Outlet
- Building Your Confidence
Common Questions About Drawing Lipstick
Ready to Draw More?
Getting Started with Your Easy Lipstick Sketch
Before we even think about drawing, it's good to get a few things ready. You don't need anything fancy, that's for sure. It's a bit like those clever "struggle life tips" you might see on forums, helping you make things easier without spending a lot. Just some basic stuff will do, and you'll be set.
Gathering Your Simple Tools
For a truly easy lipstick drawing, you really just need a few things. A regular pencil, like a standard HB or a 2B, works great for initial lines. You'll want an eraser, too, for any little mistakes or to lighten lines. Some plain paper, any kind, is perfectly fine. If you feel like adding a touch of color later, a few colored pencils or even crayons can be fun. That's, honestly, all you really need to begin.
Finding Your Inspiration
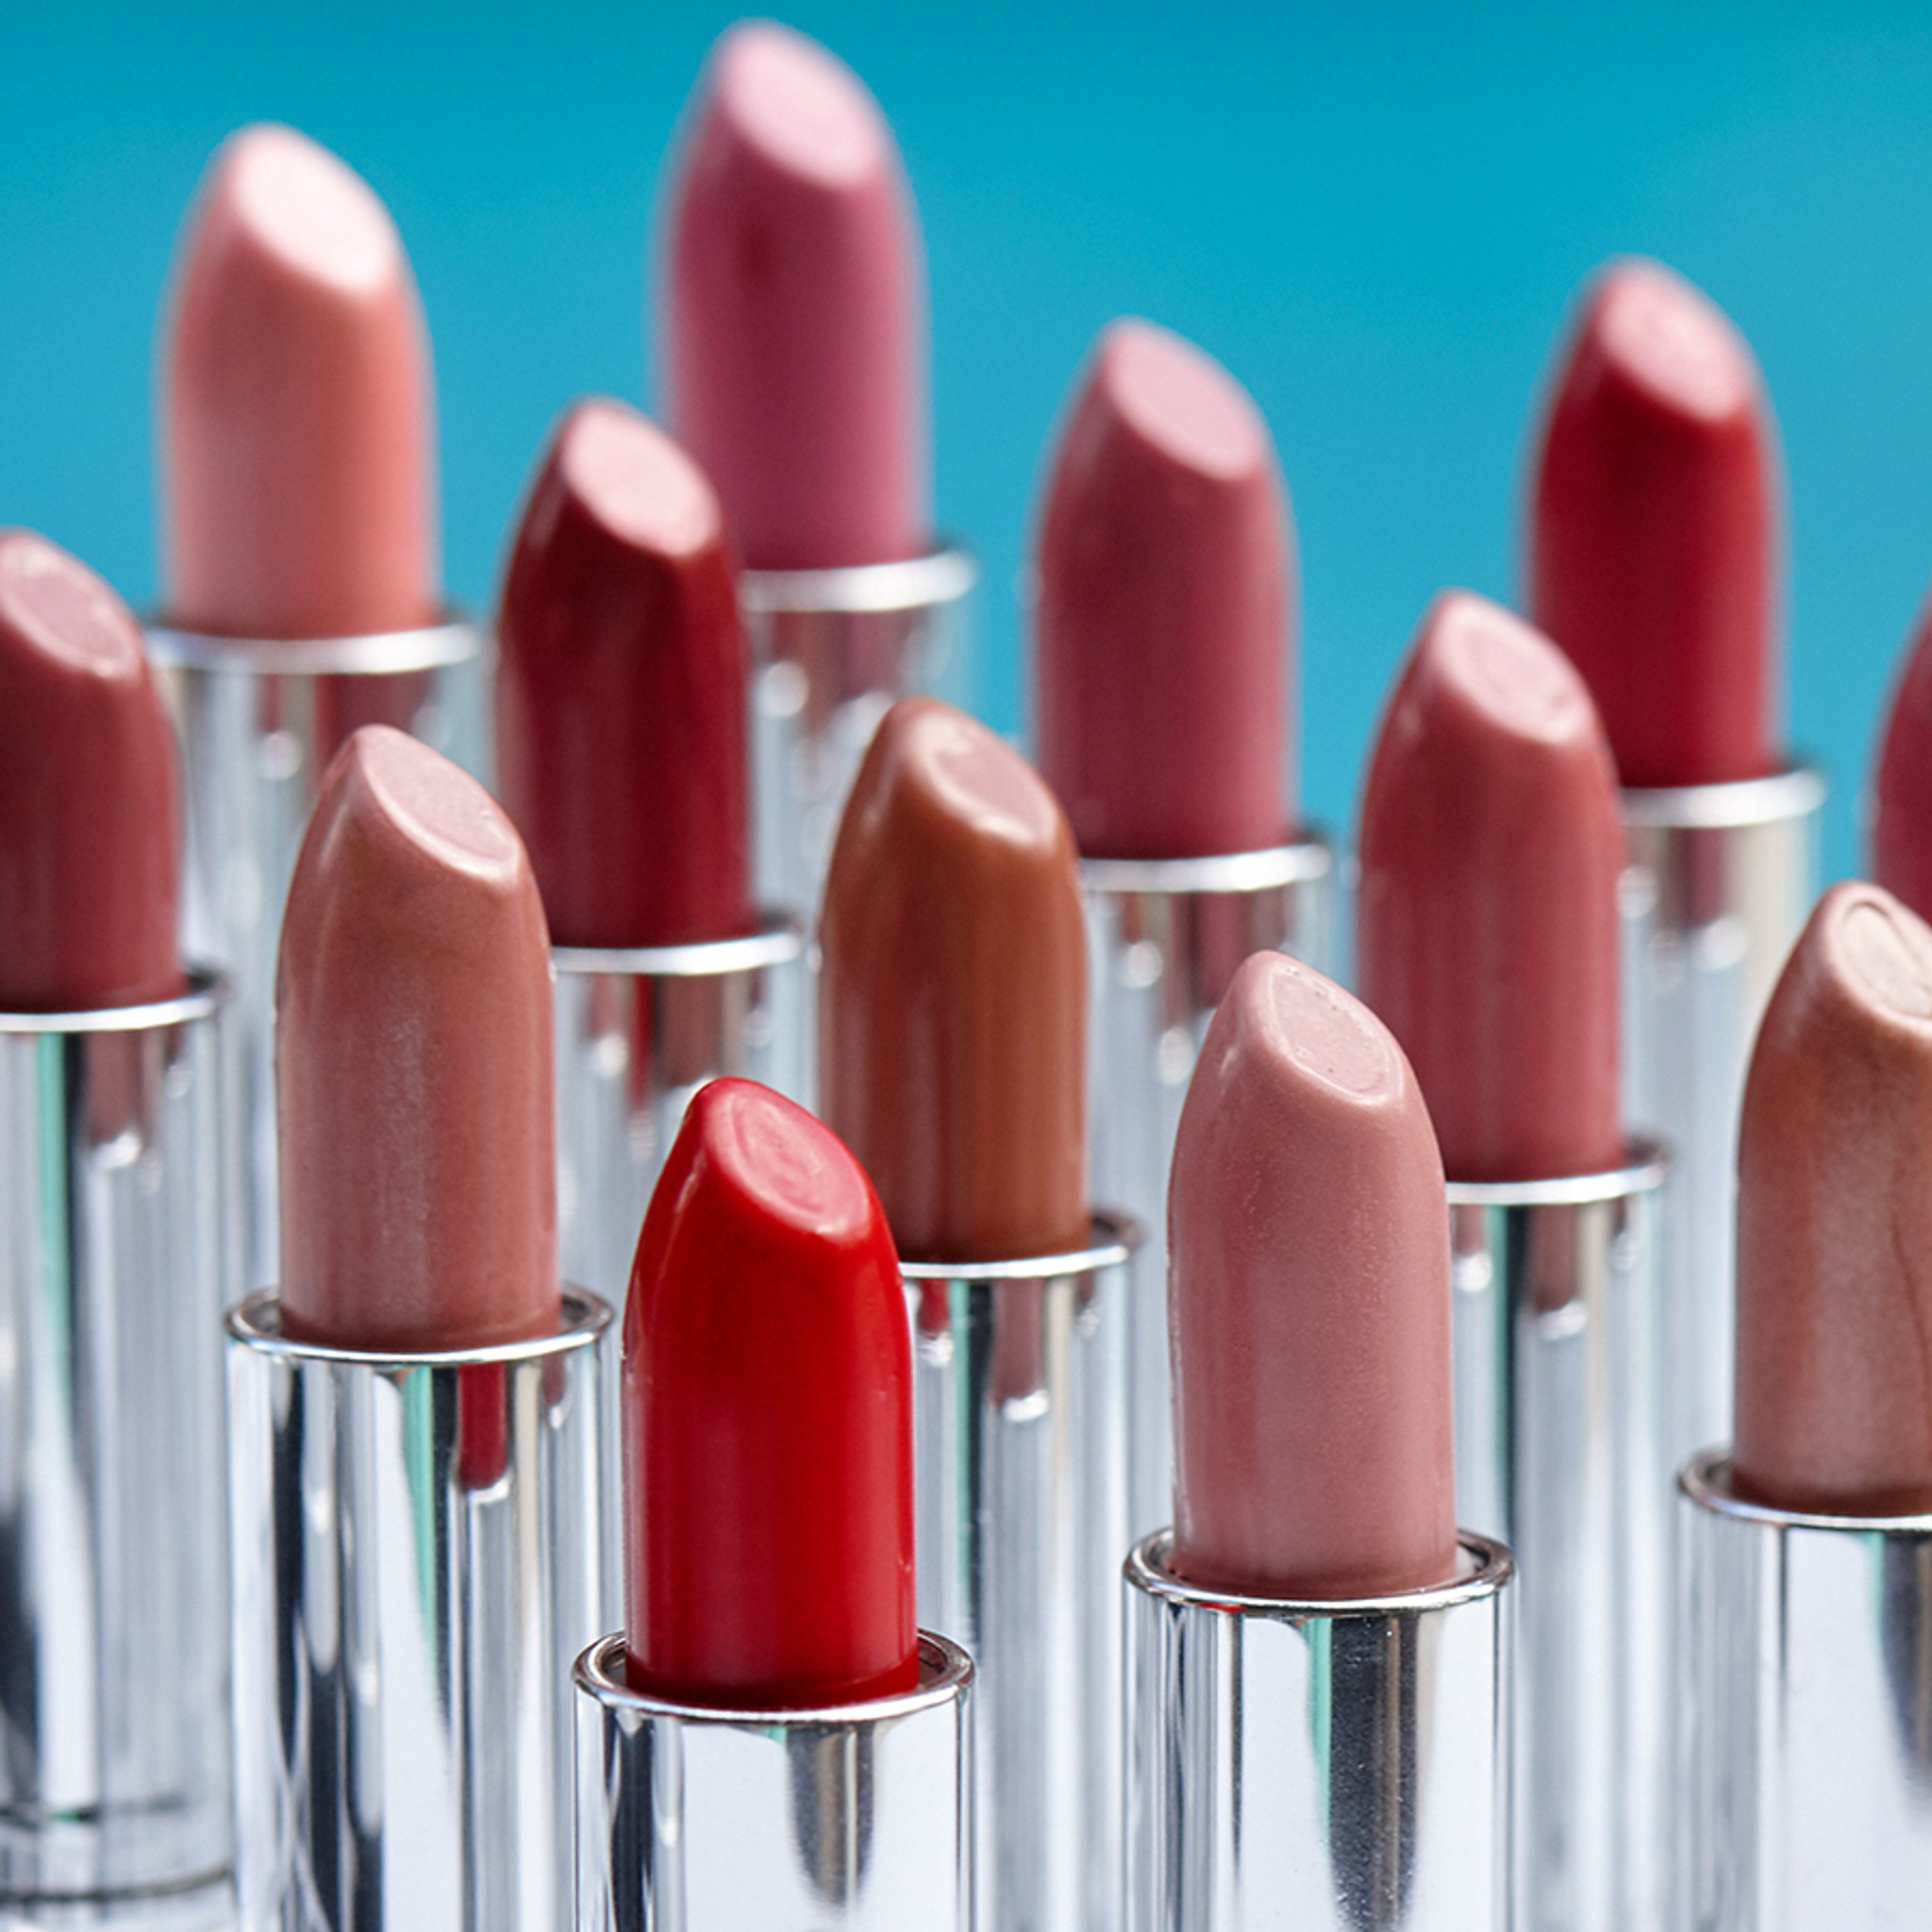
Sometimes, the best way to start is to look at a real lipstick. Pick one up, any one you have. Notice its shape, how the light catches it, the way the cap fits. You could also, you know, look at pictures online. Just observe different kinds of lipsticks – slim ones, chunky ones, ones with shiny cases. This helps your mind get ready to draw, and it's quite an important first step.
Breaking Down the Basic Shapes
Every drawing, even something that looks a bit complicated, is just a bunch of simple shapes put together. Think of it like building blocks. We'll start with the main parts of the lipstick, which are pretty much just cylinders and ovals. It's not too hard, really.
The Tube's Foundation
Start by drawing a tall, narrow rectangle. This will be the main body of your lipstick tube. Make it a bit longer than you think, because the cap will sit on top. Then, at the very bottom and top of this rectangle, draw a slight curve, like a very flat oval. This gives the tube that rounded, cylindrical look. It's, you know, the basic structure, so don't worry about making it perfect just yet.
Adding the Lipstick Bullet
Now, for the actual lipstick part, the "bullet." This is the bit that comes out of the tube. It typically has a slanted top, like a small, angled cylinder. So, above your main tube, draw another, shorter rectangle. Then, at the top of this smaller rectangle, draw a diagonal line going from one corner down to the other side. This creates that classic slanted tip. You might want to make it a little bit wider than the tube, just to give it some presence.
Adding the Details That Make It Pop
Once you have the basic shapes down, it's time to add those little touches that make your drawing look like a real lipstick. These details, honestly, are what bring the sketch to life. It's not about being super precise, just about hinting at the real thing.
Crafting the Cap
The cap is basically another cylinder that sits on top of the main tube. You can draw it as a separate rectangle, slightly wider than the tube, positioned right above where the lipstick bullet would disappear. Give it those same slight curves at the top and bottom to show it's rounded. Sometimes, you know, caps have little rings or ridges, and you can add those with simple horizontal lines to make it look more finished.
Making It Look Real: Texture and Shine
This is where your drawing starts to get interesting. Lipstick tubes often have a smooth, sometimes shiny, surface. To show this, you can add very light, parallel lines along the length of the tube. For the lipstick bullet itself, think about its texture. Is it matte? Is it glossy? For a matte look, you might use a soft, even shading. For a glossy look, you'll want to leave small, bright white spots where the light would hit, especially on the slanted tip. This, you know, really helps it look three-dimensional.
Playing with Color and Shading
If you're using colored pencils, pick a fun lipstick color! Red, pink, berry – whatever you like. Apply the color lightly at first, building it up in layers. For shading, think about where the light is coming from. The side of the tube furthest from the light source will be a little darker. The same goes for the lipstick bullet. A bit of darker shade under the cap, where it meets the tube, can also make it look like it's sitting properly. It's, you know, a simple trick that makes a big difference.
Tips for Making Your Lipstick Drawing Shine
Drawing is a journey, and there are always little tricks to make your work look even better. These tips are about refining your easy lipstick drawing, giving it that extra something without making it complicated. It's about, you know, paying a little attention to the small things.
Thinking About Light and Shadow
Light and shadow are what give objects their form and depth. Imagine a light source, maybe from the top left. The parts of the lipstick facing that light will be brighter, and the parts facing away will be darker. You can use lighter pressure with your pencil for highlights and heavier pressure for shadows. A very soft shadow cast by the lipstick onto the surface it's sitting on can also make it look, quite honestly, more grounded. This is, you know, a key element in making any drawing look more real.
Making It Look Glossy
For a super glossy look, especially on the lipstick bullet itself, you'll want to leave small, bright white areas. These are called "highlights." They're usually not perfectly round or square; they follow the curve of the object. Think about a reflection on a shiny car or a piece of glass. The more contrast between the highlight and the surrounding color, the glossier it will appear. You might even, just a little, add a tiny white line along the edge of the tube where the light hits it directly.
Finding Your Own Style
Remember, there's no single "right" way to draw. Your drawing will naturally have your own touch. Maybe you like clean lines, or perhaps you prefer a softer, more sketched look. Experiment with different pressures, different pencils, or even different colors. This is your creative space, and it's where you get to express yourself. Just like finding great tips on a forum, like those "makeup dupes" people share, you'll find your own drawing "dupes" or methods that work best for you. It's, you know, about personal discovery.
Why Easy Sketches Are So Good for You
Beyond just creating a pretty picture, engaging in easy drawing has some really nice benefits. It's not just about the finished product; it's about the process itself. You might be surprised, you know, at how good it feels.
A Quick Creative Outlet
Life can get a bit busy, can't it? Sometimes, you just need a few minutes to step away and do something totally different. An easy lipstick drawing offers that perfect quick escape. It doesn't demand hours of your time or a huge commitment. You can pick it up, sketch for ten minutes, and feel like you've done something creative and satisfying. It's, you know, a little mental break that can really refresh you.
Building Your Confidence
Completing even a simple drawing can give you a real boost. You started with a blank page, and now you have something you made. This feeling of accomplishment, however small, helps build your confidence not just in drawing, but in trying new things generally. It shows you that you can learn, you can create, and you can, you know, achieve things you might have thought were too hard before. It's a wonderful feeling, honestly.
Common Questions About Drawing Lipstick
People often have similar questions when they start drawing simple objects. Here are a few common ones, and some quick thoughts on them.
Is drawing lipstick hard for beginners?
Not at all! As you've seen, it breaks down into very simple shapes. The key is to take it step by step and not worry about perfection. It's, you know, really quite approachable.
What kind of pencil is best for drawing lipstick?
A standard HB pencil is great for outlining. If you want to add shading, a 2B or 4B pencil will give you darker tones more easily. You don't need a whole set, just one or two will do, honestly.
How can I make my lipstick drawing look more realistic?
Focus on light and shadow, and pay attention to those small highlights that show gloss. Also, try to make your lines a bit varied – some darker, some lighter – to give it more depth. It's, you know, about observing the real thing closely.
Ready to Draw More?
So, you've tried drawing a lipstick, and hopefully, you had a good time doing it! This is just one small step into the fun world of sketching everyday objects. There are so many other simple things around you that can become wonderful little drawings. Think about a coffee cup, a pair of glasses, or even a simple leaf. Each one offers a chance to practice and enjoy the process.
Keep a small sketchbook handy, and just draw whenever the mood strikes. Don't pressure yourself to create masterpieces; just enjoy the act of putting lines on paper. You can learn more about drawing tools on our site, and link to this page for more art inspiration. For more general drawing tips and inspiration, you might find some useful guides at a site like Drawing Basics. Just keep practicing, and you'll see your skills grow, you know, little by little. Happy sketching!
Lipsticks that look and feel fabulous!

9 Best girls lipstick-Choosing a good tone of color can improve the
Lipstick PNG
